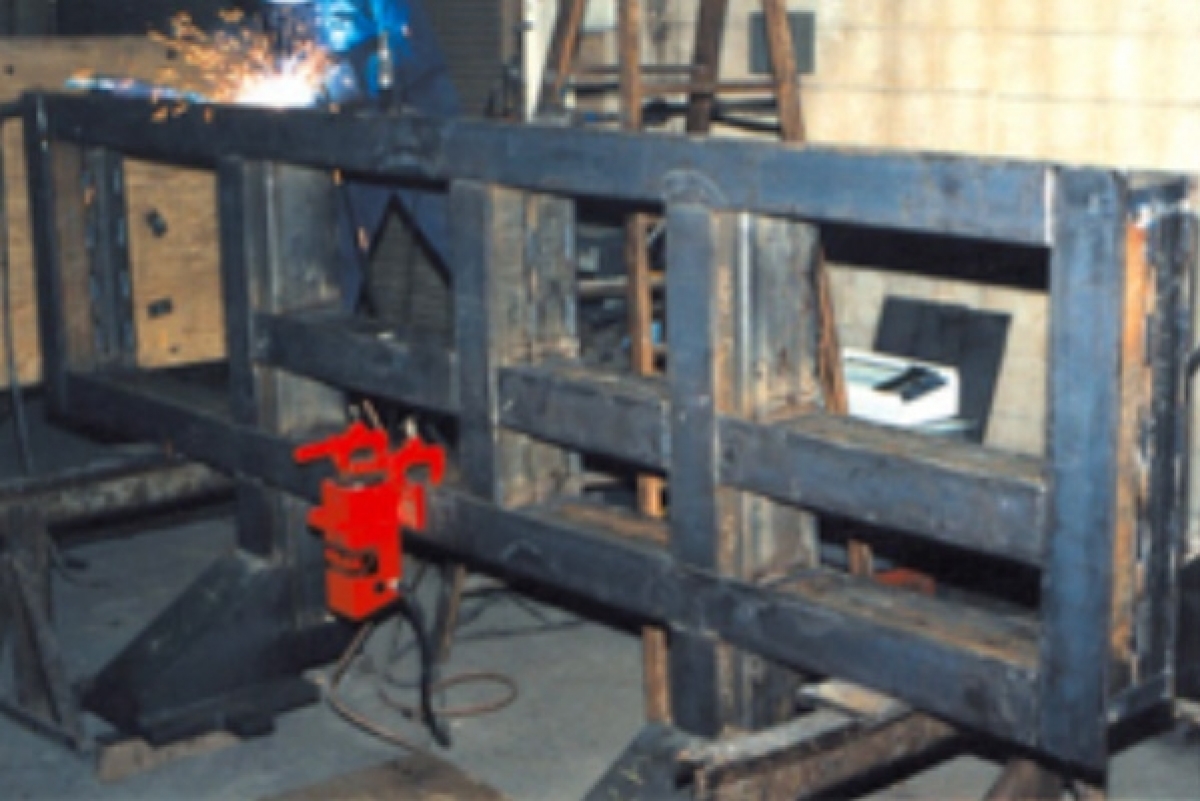
Description: Checking fixtures were welded out of tubular components of 1020 hot rolled steel, primarily consisting of a row of 2 x 6 tubes standing on edge, welded to the edges of 2 x 4 tubes, with a 1-inch thick plate welded to the edge of those tubes. The overall length was 16-feet long. Further, after welding the checking fixtures were machined which included milling and drilling of about 200 holes.
Normal Performance: Distortion from welding averaged 0.375-inch. Straightening after welding was always needed and the tolerance for straightening was 0.100-inch flatness. Distortion from machining averaged 0.010-inch.
Performance After Meta-Lax Weld Conditioning: Checking fixtures were welded using Meta-Lax during welding. Distortion from welding varied between 0.050 to 0.070-inch (81-87% less than normal). This distortion control eliminated the need for straightening. Distortion following machining was 0.0015-inch (85% less than normal).


